Introduction to Launching a WordPress Site
So, you’ve decided to create a website: perhaps you’ve started a small business, launched a new blog, or you’re just exploring a new hobby. Either way, this is an exciting journey! WordPress is a fantastic platform to build your site. In fact, it’s the most popular content management system in the world, powering over 33% of all websites on the internet. It’s user-friendly, flexible, and packed with features, making it a great choice for beginners and experts alike.
What is WordPress?
WordPress is an open-source content management system that allows you to create and manage your website. The beauty of WordPress is its simplicity and flexibility: whether you’re creating a portfolio, an online store or a blog, WordPress has you covered.
Why Choose WordPress?
So, why would you choose WordPress over other platforms? Here are a few reasons:
- Friendly to Beginners: Even if you’re completely new to website creation, WordPress is relatively easy to use. Its interface is intuitive and user-friendly, and there is a plethora of online tutorials and communities to help you out.
- Flexible and Versatile: With thousands of themes and plugins, WordPress can be customized to fit your unique needs and preferences. It’s perfect for any type of website you want to create.
- SEO-Friendly: WordPress is designed with search engine optimization in mind. It provides SEO-friendly URLs, categories, tags, and more. Plus, there are plenty of SEO plugins that can help you optimize your site even further.
- Strong Community: Since it’s so popular, there’s a strong community surrounding WordPress. This means there’s plenty of help available from forums and blogs, where you can get advice and tips from experienced users.
Getting Started with WordPress
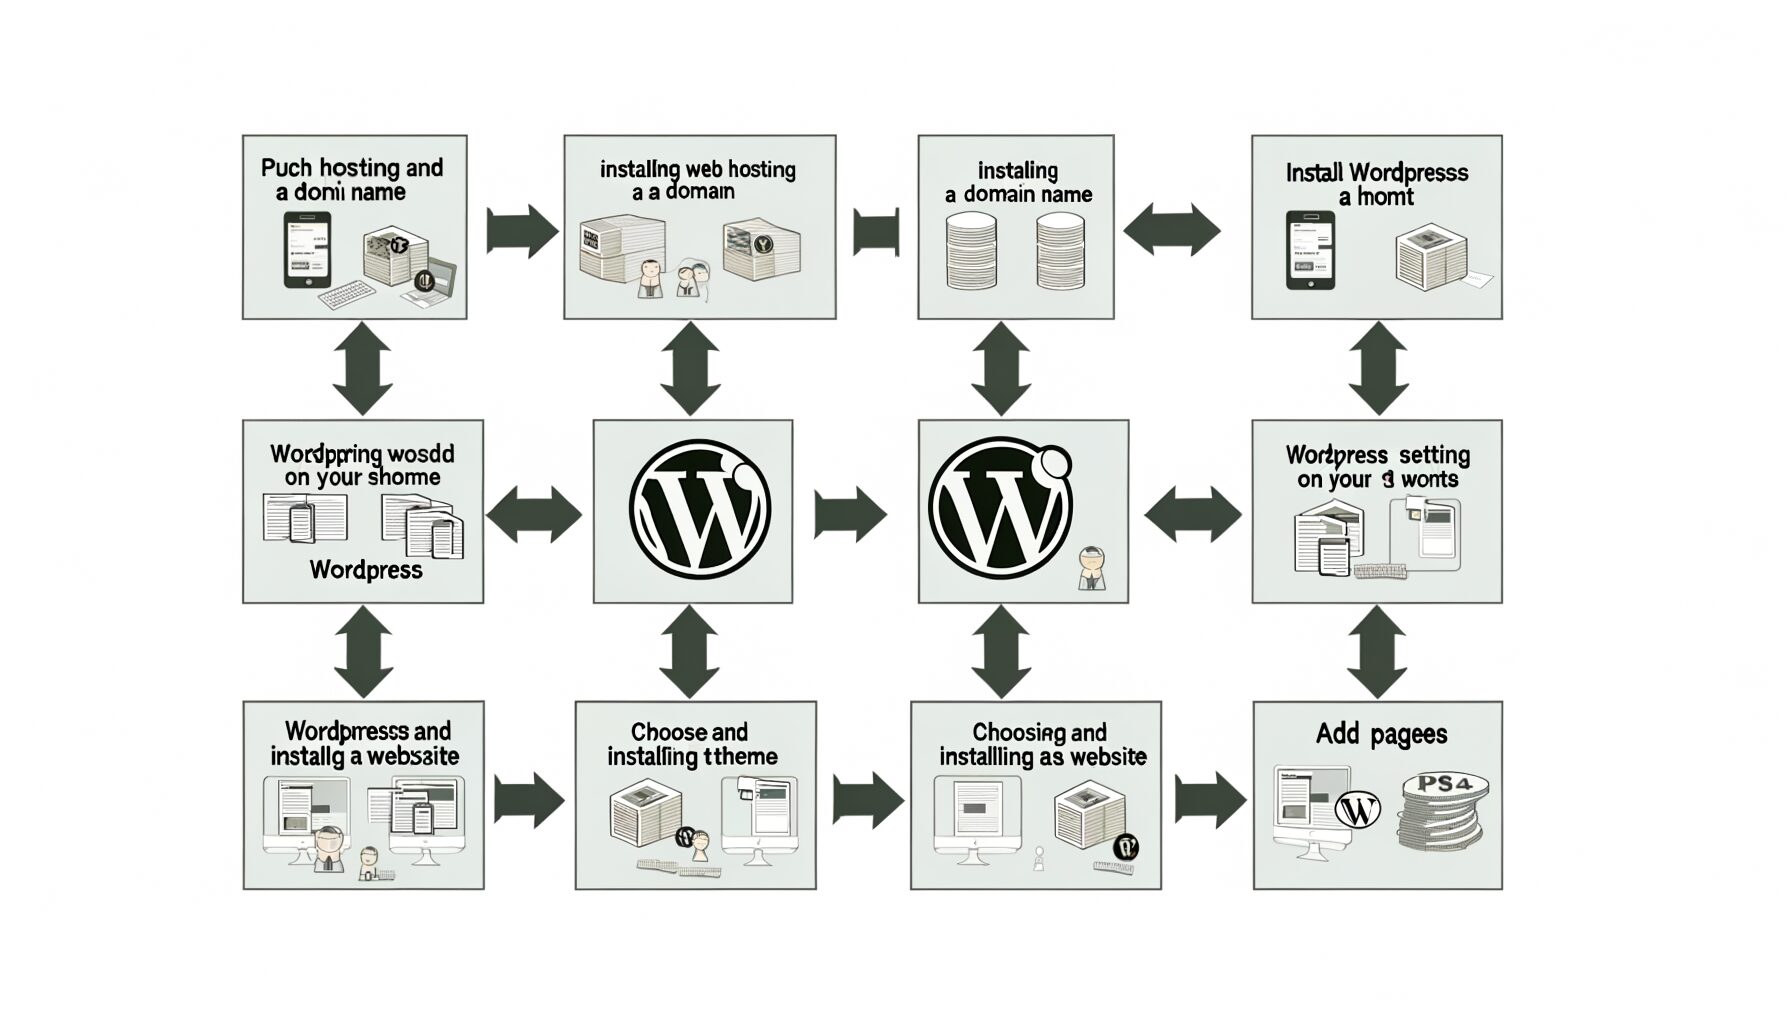
Launching a WordPress site can be broken down into several essential steps, which we’ll outline in the following sections. It all starts with choosing a hosting environment and registering a domain name. Next, you’ll install WordPress and start setting up your site, including choosing a theme and customizing it to your liking. Plugins will enhance your site’s functionality and give you additional features. Finally, you’ll need to test and optimize your site before launching it to the world.
It might sound a bit daunting, especially if you’re a beginner. But don’t worry: each of these steps will be covered in detail in this guide, and you’ll have your site up and running in no time!
So, are you ready to take the first step towards launching your WordPress site? Onwards!
Choosing the Right Hosting Environment for Your WordPress Site
So, you’ve decided to build a WordPress website, huh? That’s awesome! Next up, you need to find a home for your website on the internet, and that’s where web hosting comes into play. Now, this may sound complicated, but don’t worry – we’re here to guide you!
What is Web Hosting?
Think of web hosting like renting a house. To have a home on the internet, your website needs to be hosted on a server. This server will store all your website files and deliver them to your visitors’ browsers. Making the right choice in hosting is crucial to ensure your site runs smoothly.
Types of Hosting
There are a plethora of hosting options out there, each with its own set of pros and cons. Let’s have a look at some of the most common ones:
- Shared Hosting: This is a cost-effective option where your site shares resources with other websites on the same server. However, it may not offer the best performance, especially if you expect high traffic.
- VPS (Virtual Private Server) Hosting: A step up from shared hosting, you get a chunk of server resources dedicated to your site. It’s more expensive but offers better performance.
- Dedicated Server Hosting: As the name implies, you get an entire server to yourself. This option is the most expensive but offers top-notch performance.
- Managed WordPress Hosting: This type of hosting is specifically optimized for WordPress sites. It includes features like automatic updates, premium support, and enhanced security.
Choosing the Right Hosting Provider
Choosing the right web hosting provider is just as important as the type of hosting. Keep an eye out for these factors:
- Reliability: Look for hosts with an uptime of 99.9% or more. You don’t want your site to be inaccessible to your visitors, do you?
- Speed: A slow site can frustrate users and harm your search engine rankings. Check the host’s average load time before making your choice.
- Customer Service: Things can go wrong, and when they do, you’ll want a host with responsive and helpful customer support.
- Price: While it’s tempting to go for the cheapest option, remember that you get what you pay for.
Choosing the right hosting environment can make or break your website’s success. It’s worth taking the time to research your options and pick the one that’s right for your needs. So, are you ready to give your WordPress site the home it deserves?
Selecting and Registering a Domain Name
Alright, now that we’ve got the hosting environment sorted, let’s move on to the next crucial step – selecting and registering your domain name. This is your website’s address on the internet and this is how your audience will find you. Sounds critical, right? So, let’s dive right into it.
Choosing the Perfect Domain Name
Choosing a domain name is like naming a newborn. It’s a serious business, as it’s something that will stick with your website forever. There are a few things to consider when choosing your domain name:
- Keep it Short & Simple: As a rule of thumb, your domain name should be easy to type and remember. Avoid using complex words or phrases that can confuse your audience.
- Use Keywords: Try to include keywords related to your business. This can help improve your website’s SEO and increase your online visibility.
- Choose the Right Extension: While .com is the most popular, there are many other options like .org, .net, .biz and country-specific ones like .co.uk or .ca.
- Avoid Numbers and Hyphens: These can often lead to typos and make your domain name harder to remember.
Remember, your domain name should reflect your brand, be memorable and easy to pronounce. And of course, make sure it’s unique and not already taken by someone else.
Registering your Domain Name
Once you’ve picked the perfect domain name, it’s time to register it. But where do you do that? Well, there are several domain registrars out there. Some popular ones are Namecheap, Bluehost, and GoDaddy.
They all provide similar services, but differ in pricing, customer support, and additional features. So do your homework before choosing a registrar. You can also check if your hosting provider offers domain registration services; this can make managing your site easier as everything is in one place.
Registering a domain is a pretty straightforward process. You search for your chosen domain to see if it’s available, choose the registration period (usually 1-5 years), and pay the registration fee. And voila! Your domain name is now officially yours.
But there’s one more thing. You should consider privacy protection. Without this, your personal information (like your name, email, and phone number) will be publicly available in the WHOIS directory. Most registrars offer privacy protection for an additional fee. It’s an optional step, but highly recommended for your online privacy and security.
Ah! We’re done, you’ve just crossed another important step off your list. You now have a new address on the internet! Up next, we’ll be installing WordPress – the platform your site will run on. But that’s a conversation for another day. For now, congratulate yourself on your progress and take a breather – you’ve earned it!
Installing and Setting Up WordPress
Welcome, future site owner! You’ve jumped the first few hurdles by selecting your hosting environment and registering your domain. Now it’s time for the fun part: installing and setting up WordPress. Don’t worry if this sounds a little daunting – it’s actually quite straightforward. And if you follow the steps below, you’ll have your WordPress site up and running in no time.
Step 1: WordPress Installation
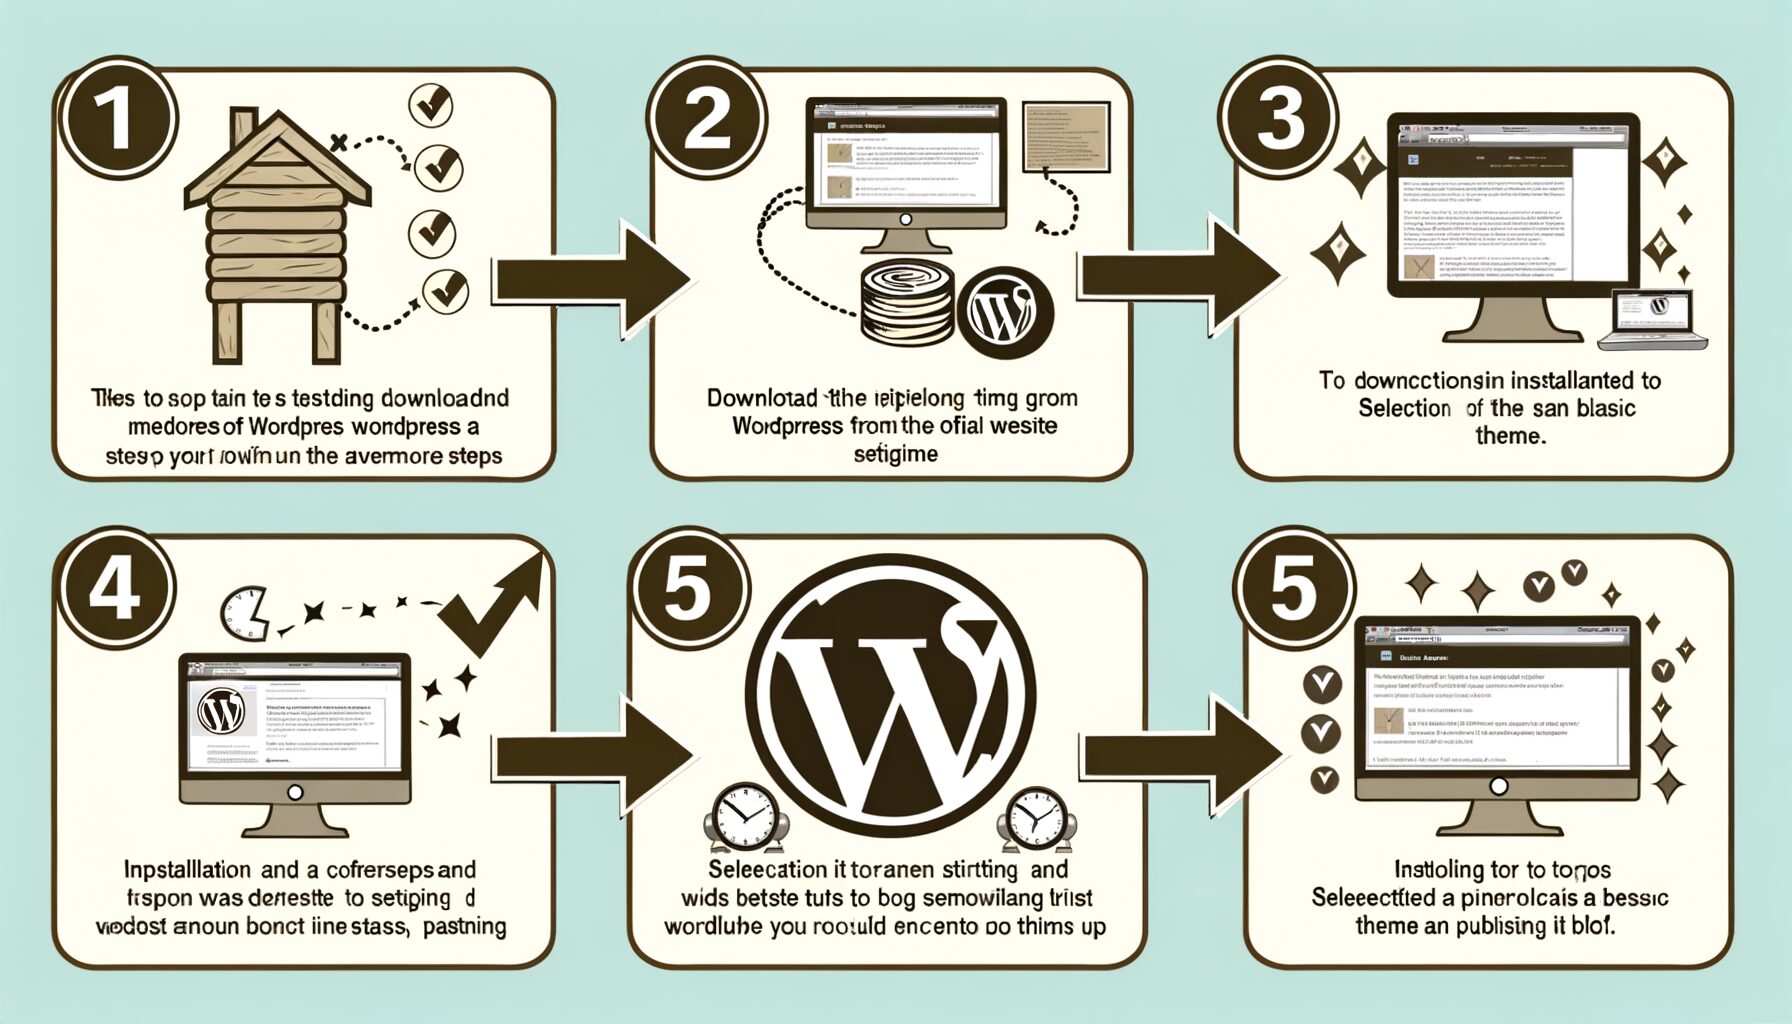
Most hosting providers offer a one-click WordPress installation feature right in their dashboard. This makes it super easy to get WordPress set up on your site. You’ll simply need to navigate to the WordPress section of your hosting dashboard, click “install,” and follow the on-screen prompts.
If your hosting provider does not offer this feature, don’t panic! You can still install WordPress manually, which only requires a few more steps. You’ll need to download the most recent version of WordPress from the official website, upload it to your server, and then follow the setup instructions. It might sound a bit tech-heavy, but it’s not as scary as it sounds!
Step 2: Setting Up Your WordPress Site
With WordPress installed, it’s now time to make it your own. Start by selecting your website’s language and a suitable title. This can always be changed later, so don’t stress too much if you’re not sure about your site’s name yet.
- Settings: Navigate to the “Settings” tab in your WordPress dashboard. Here, you can adjust your site title, tagline, and URL. You can also set your time zone, date format, and language.
- Permalinks: Right under “Settings,” you’ll find “Permalinks.” This is where you can set the structure of the URLs for your pages and posts. Experts generally recommend using a simple structure that includes the post name for SEO purposes.
Step 3: Security Measures
Before you start adding content to your website, there are a few security measures you should implement. These will help protect your site from hackers and keep your visitor’s data safe.
- Strong admin username and password: Make sure to choose a strong username and password for your WordPress admin account. The default ‘admin’ username is easy for hackers to guess, so choose something unique.
- Enable SSL: If your hosting provider offers it, enable SSL (Secure Sockets Layer). This will encrypt data sent between your site and your visitors, keeping it safe from prying eyes.
- Update regularly: Make sure to regularly update WordPress, your theme, and plugins. These updates often include security patches and improvements.
So there you have it! Your WordPress site is installed and set up, ready for you to start adding content and customizing your theme. Remember, building a website is a journey, not a sprint. So take your time, have fun, and enjoy the process. Happy blogging!
Choosing and Customizing Your Theme
When you’re busy building your WordPress site, the look and feel of it are everything. That’s where your theme comes in. Think of your theme as the ‘skeleton’ of your site, giving it its general layout and appearance. And let’s not forget, your theme is the first thing your visitors will see. So, let’s dive into how to choose and customize your theme to make your WordPress site truly shine.
Choosing Your WordPress Theme
Less is More
The first rule of thumb here is not to get carried away with flashy themes. Simplicity is key. You want a theme that looks good but doesn’t distract from your content or confuse your users. So, stick with something clean, intuitive and responsive. Remember, your users will probably be visiting on all sorts of devices, so a theme that looks good on all screen sizes is a must.
Think About Your Needs
Next, consider what your site needs. Are you a photographer showcasing your work? Then you’ll want a theme that lets your images shine. Running a blog? You’ll need a theme that makes reading your posts a breeze. Make a list of what you need from a theme before you start looking. It will make the process much smoother.
Don’t forget to check out the ratings and reviews for each theme. They’ll give you a good idea of the theme’s quality and support.
Customizing Your WordPress Theme
Once you’ve found a theme you love, it’s time to make it yours. Your theme will come with a bunch of customization options. Here’s a rundown of what’s usually on offer.
- Colors: Most themes let you play around with color schemes. This is your chance to inject your brand’s colors into your site.
- Fonts: Typography matters. Look for a theme that gives you a variety of font options. You’d be amazed how different fonts can change the feel of your site.
- Layout: This is where you can really start to make your mark. Play around with the theme’s layout options to find a look that suits you.
- Widgets: Widgets are small blocks that perform specific functions. You can add, remove and rearrange these to get your site working just how you want it.
Remember, your theme should work for you. Don’t be afraid to play around with it until it feels just right. After all, your website is a reflection of you or your business. It needs to feel authentic and inviting to your visitors. So take your time, play around, and have fun with it. And if you ever get stuck or need advice, the WordPress community is always there to help you out.
Essential Plugins for Enhancing Functionality
Hey there, WordPress enthusiast! Since we’re on the path to launching an impeccable WordPress site, we’ve got to talk about an invaluable lifeline: plugins. Simply put, plugins are like the spice to your curry, the icing on your cake, or the tune to your lyrics – they escalate the value of your WordPress site by adding essential functionalities.
Why plugins, you ask?
Imagine running an online store without a shopping cart functionality or having a blog without an SEO optimization tool. Sounds like a nightmare, right? But don’t sweat it! Plugins are here to the rescue. They not only enrich your site with crucial features but also ensure a smooth and user-friendly experience for your audience.
Alright! So which plugins should you consider?
Well, there are literally thousands of plugins available, but we’ll focus on the absolute essentials that are almost universally beneficial, no matter what type of site you’re building. Here goes:
- Rank Math: The holy grail of SEO optimization, Rank Math aids in improving your search engine ranking. It helps you craft readable content, create SEO-friendly titles and meta descriptions, and set up social media integration.
- WooCommerce: If you’re aspiring to set up an online store, WooCommerce is your buddy. This plugin offers extensive features like product pages, shopping carts, and secure checkout options.
- Wordfence Security: In the wild web world, security should be a top priority. Wordfence Security provides firewall and malware scan, protecting your site from hacks and data breaches.
- Contact Form 7: Want your readers to reach out to you? Contact Form 7 allows you to create and manage multiple contact forms with ease.
How to install these plugins?
Installing plugins is a piece of cake. Navigate to your WordPress dashboard, click ‘Plugins’, select ‘Add New’, and then search for the desired plugin. After installing the plugin, don’t forget to activate it.
Remember, while plugins are awesome, having too many can clutter your site and slow it down. So, it’s essential to maintain a healthy balance.
Final Thoughts
Overwhelmed by the wide plugin universe? Don’t be! Start with the basics, understand your website’s needs, and gradually explore more advanced plugins. And remember, each plugin you choose should align with your site’s purpose, aiming to provide a seamless experience for your users.
So, go ahead and spice up your WordPress site with these essential plugins. And before you know it, you’ll be running a smooth, efficient, and ultra-functional site that your audience will absolutely love!
Testing and Optimizing Your Site for Launch
Hey there, aspiring blogger or business owner! You’ve put a lot of effort into creating your WordPress site, and now you’re almost ready to launch. But wait, have you tested and optimized your site yet? If not, don’t skip this critical step. It’s like rehearsing before the big show. Let’s dive in and see how it’s done!
Website Testing
Just like any product, your website needs rigorous testing before going live. It’s your opportunity to spot any errors, broken links, or usability issues that could turn off your visitors.
Functionality Testing
- Links: Ensure your internal and external links are working properly. Dead or broken links can be frustrating for users and detrimental to your SEO.
- Forms: Test contact forms, comment sections, and any other interactive features to make sure they’re functioning correctly.
- Plugins: Check all installed plugins for compatibility issues. Remember, less is more. Only keep what’s necessary.
User Experience (UX) Testing
Your site needs to not only function well but also provide an excellent user experience. Here are some things to look out for:
- Navigability: Is your site easy to navigate? Make sure your menu is intuitive and your important pages are easily accessible.
- Responsiveness: Test your site on various devices and browsers. It should look good and work well on desktops, tablets, and smartphones alike.
- Load time: Slow websites are a no-go. Use tools like Google PageSpeed Insights to check your site’s speed.
Website Optimization
Once you’ve tested your site, it’s time to optimize. This means improving your site’s performance and setting it up for success in search engine rankings.
SEO Optimization
SEO, or Search Engine Optimization, is all about making your site more visible to search engines, leading to more organic traffic. Here are some basic SEO practices:
- Keywords: Identify keywords relevant to your content and include them in your title tags, meta descriptions, and throughout your content.
- Image optimization: Compress your images and use alt text to make your site faster and more accessible.
- XML Sitemap: Create and submit an XML sitemap to search engines to help them understand and index your site’s content.
Performance Optimization
Performance optimization aims to enhance your site’s speed and overall functionality. Here’s how:
- Caching: Implement caching to reduce server load and improve site speed.
- CDN: Use a Content Delivery Network (CDN) to deliver your site’s content faster to users all over the globe.
- Database optimization: Regularly clean up your database by removing unnecessary data, optimizing its structure, and repairing any issues.
Testing and optimizing your WordPress site might seem like a lot of work, but trust me, it’s worth it! Follow these steps and your site will be ready to shine on launch day. Happy testing and optimizing!


No Comment! Be the first one.