Introduction to WordPress: What is WordPress and Why Use It?
Have you ever considered starting your own website or blog but have been overwhelmed by the technical aspects? Or perhaps, you’re an entrepreneur looking to carve out a slice of the digital world for your business? Well, you’re in the right place! Let’s take a deep dive into the universe of WordPress, a magnificent tool that can make your digital dreams come true.
What is WordPress, you ask?
Essentially, WordPress is a free, open-source content management system (CMS) used to build and maintain websites. It’s a user-friendly platform that you can use to create anything from a simple blog to an advanced e-commerce website. In other words, it’s the magic wand that can help you create your online presence without requiring you to be a tech wizard.
Why Choose WordPress?
Now you might be wondering, “Why should I use WordPress?” The answer is simple: it’s incredibly accessible, versatile, and powerful. But let’s break it down:
- Easy to Use: One of the main reasons why WordPress has gained such immense popularity is its ease of use. You don’t need to be a coding expert or a tech savant to use it. If you can use a word processing program, you can use WordPress!
- Customizable: WordPress offers thousands of themes and plugins, allowing you to design your website exactly the way you want it. Whether you’re a blogger, a small business, or a large corporation, WordPress has something for everyone.
- Community Support: Because WordPress is open-source, it has a large, active community of developers and users who are always willing to help. If you ever run into a problem or have a question, help is always just a forum post away!
- SEO Friendly: Search Engine Optimization (SEO) is crucial for any website, and WordPress doesn’t disappoint in this aspect. It offers numerous SEO plugins that can help boost your website’s visibility on search engines.
That’s the beauty of WordPress. It’s a platform that grows with you. Whether you’re starting from zero or already have a grip on website development, WordPress has the flexibility and scalability to fit your needs.
In a nutshell, WordPress takes the intimidation out of creating and managing a website. It’s a reliable platform that’s trusted by millions across the globe, and it might just be the perfect tool for you to bring your digital project to life!
Stay tuned as we delve deeper into the world of WordPress, exploring how to download and install it, choose the perfect web hosting, customize your site with themes and plugins, and much more. Let’s embark on this digital journey together!
Step-by-Step Guide to Downloading and Installing WordPress
Let’s dive into the exciting world of WordPress! Downloading and installing WordPress may sound like a technical task, but fear not. With this step-by-step guide, you’ll have your own WordPress site up and running in no time.
Step 1: Downloading WordPress
Firstly, you need to download the WordPress software. Head over to the official WordPress download page and click the blue ‘Download WordPress’ button. This will download a .zip file, which you’ll need to extract. Congratulations, you have the WordPress software now!
Step 2: Uploading WordPress to Your Hosting Account
Next, you’ll need to upload the WordPress files to your hosting account. Most web hosts provide a ‘File Manager’ within their control panel, where you can upload the extracted WordPress files. If not, you could use an FTP client like FileZilla to do the job.
Step 3: Creating a Database for WordPress
This is a crucial step. You need to create a database for your WordPress site to store all its data. You can generally do this through the ‘MySQL Databases’ section in your hosting control panel. Make sure to note down the database name, username, and password—you’ll need them in the next step!
Step 4: Configuring wp-config.php
Now, locate a file named ‘wp-config-sample.php’ in the WordPress files you uploaded. Rename it to ‘wp-config.php’ and open it. You’ll see some lines of code where you need to enter the database details you noted down earlier. This step connects WordPress to your database.
Step 5: Running the WordPress Install
You’re almost there! Open your web browser and navigate to your domain name. You should be greeted with a WordPress setup page. Follow the instructions, fill in the requested details, and click the ‘Install WordPress’ button.
Voila! You have successfully installed WordPress. Now, you can log in with the username and password you created during installation and start building your dream website.
Remember, this process can seem daunting initially, but with a little patience and practice, you’ll soon be a pro. Don’t hesitate to reach out to your web host’s support if you get stuck—they’re there to help!
Now that you’ve downloaded and installed WordPress, are you ready to explore all the amazing things you can do with it? Let’s get started!
Choosing the Right Web Hosting for WordPress
Before you dive into creating your online masterpiece, you need to find the perfect web hosting service. Now, if you’re scratching your head wondering what web hosting even is, don’t sweat it. We’ve got your back!
What is Web Hosting and Why Do You Need It?
Think of web hosting like renting a plot of digital real estate where your website’s files and data are stored. Your web host serves up these files whenever someone visits your site. In simple terms, without a web host, your beautifully crafted WordPress site would be invisible to the world.
What Makes a Good WordPress Web Host?
Not all web hosts are created equal, especially when it comes to hosting a WordPress site. But don’t worry – we’re here to help you navigate this landscape.
- Compatibility: Your chosen host should meet WordPress’s minimum requirements, which include PHP version 7.3 or greater, MySQL version 5.6 or greater OR MariaDB version 10.1 or greater, and HTTPS support.
- Speed: A slow-loading site can be a major turn-off for visitors. Go for a host that offers solid performance and super-quick load times.
- Support: Aim for a hosting provider that offers reliable, 24/7 customer service. This way, you can get help whenever you need it.
- Scalability: As your WordPress site grows, your hosting needs will too. Choose a host that allows for easy upgrades to more powerful hosting packages.
So, Which WordPress Host Should You Choose?
There are heaps of excellent WordPress hosts out there, but some of our favorites include Network Solutions, Web.com, and Liquid Web. These hosts are officially recommended by WordPress.org, have a proven track record of excellent service, and offer competitive pricing.
Remember: your website’s performance heavily depends on your host. So, take your time, do your research, and choose a WordPress web hosting service that fits your needs and budget.
Configuring Your Domain and Setting Up a Database
Let’s talk about how to get your domain ready and set up your database for WordPress. These are two critical steps in setting up a WordPress website, but don’t worry, they’re not as complicated as they seem!
Configuring Your Domain
First, let’s tackle domain configuration. The domain is the web address that people type in to find your website (like www.yourwebsite.com).
When you buy a domain from a registrar like Namecheap, you need to point it to your web host’s servers. This process is known as changing your domain’s DNS settings, and here’s how you do it:
- Find your web host’s DNS servers. These will often be in the form of ‘ns1.yourwebhost.com’ and ‘ns2.yourwebhost.com’.
- Log in to your domain registrar account and navigate to your domain’s settings.
- Look for the section to update your domain’s nameservers and enter your web host’s DNS servers.
It may take up to 24 hours for these changes to fully propagate, but often it’s much quicker.
Setting Up a Database
Next up is database setup. Your database is where all your WordPress site’s content and settings will be stored. It’s like the brains of your website, so setting it up correctly is crucial.
Most web hosts offer cPanel, an easy-to-use control panel that makes database setup a breeze. Below is a simplified step-by-step guide:
- Log in to your web host’s cPanel dashboard.
- Find the ‘Databases’ section and click on ‘MySQL Databases’.
- Enter a name for your database and click ‘Create Database’.
- Now, you need to create a user for your database. Under the ‘MySQL Users’ section, enter a username and secure password, then click ‘Create User’.
- Finally, you need to assign this user to your database – under ‘Add User To Database’, select your database and username, then click ‘Add’.
Remember to take note of your database name, username, and password, as you’ll need these details when installing WordPress.
And that’s it! You’ve now configured your domain and set up a database for your WordPress site. While these steps might seem a bit technical, they’re a crucial part of getting your site live and functional. And remember, if you get stuck, your web host’s support team is always available to lend a hand. Good luck!
Installing WordPress: A Detailed Tutorial
So, you’ve chosen your web hosting, configured your domain, set up a database and now the real fun begins – It’s time to install WordPress! Don’t worry, we’re here to guide you through the entire process, step by step.
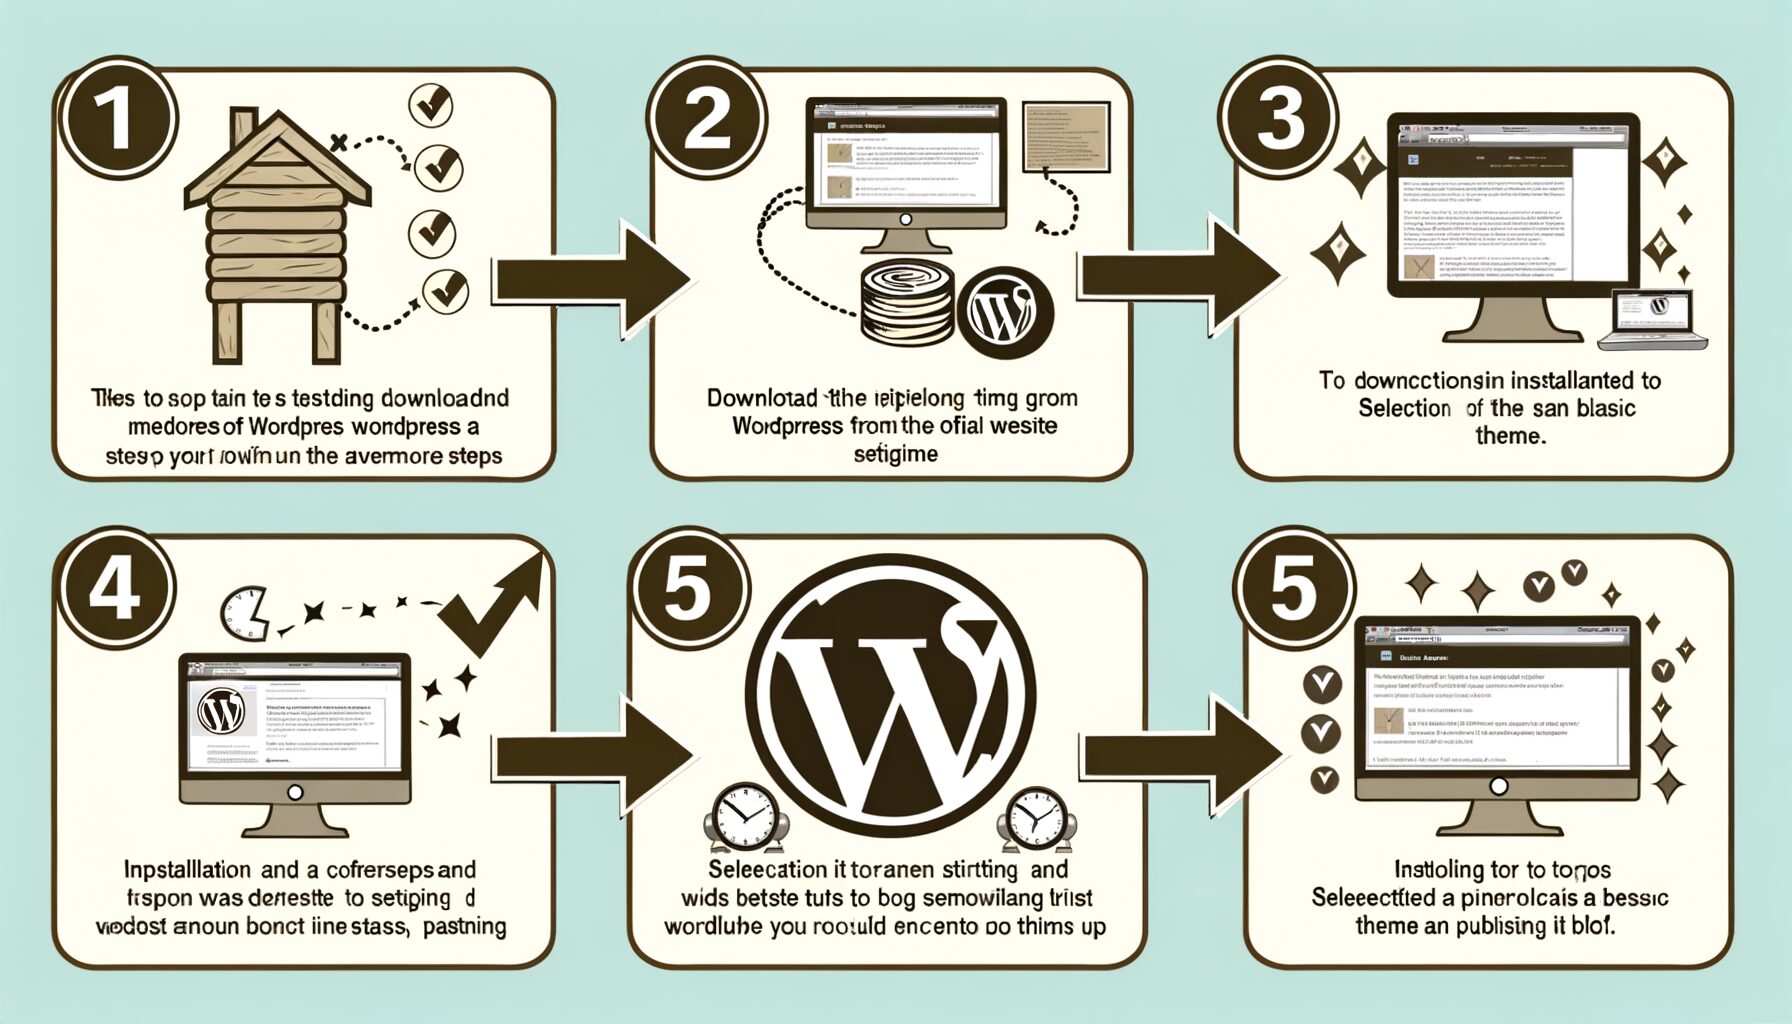
Step 1: Download the WordPress Installation Package
To start with, head over to the official WordPress website and download the latest version of WordPress. Make sure you save the file to a location on your computer where you can easily find it.
Step 2: Upload the WordPress Files to Your Server
Now, it’s time to upload those files to your web server. You can do this via FTP (File Transfer Protocol) using an FTP client like FileZilla. Connect to your server, locate the directory where you’d want to install WordPress and upload the files.
Step 3: Create a MySQL Database for WordPress
WordPress needs a database to store all its data. If you haven’t already created a MySQL database during the setup of your hosting, do it now. Remember to take note of the database name, username and password – you will need these details in the next step.
Step 4: The Famous WordPress 5-Minute Installation
Now, navigate to the URL where you uploaded WordPress. You’ll be greeted with a welcome page and an invitation to ‘Create a Configuration File’. Click that button and you’ll be prompted to enter the database details we discussed above.
Once that’s done, click the ‘Submit’ button and on the next page, click ‘Run the Installation’. You’re now officially installing WordPress! From here, you just need to fill in the fields for your website details including the site title, your username, your password, and your email address. After filling in the details, click ‘Install WordPress’.
Step 5: Success!
Congratulations! WordPress should now be installed. Go ahead and log in with the username and password you selected during the installation process to access your brand new WordPress dashboard.
Now, doesn’t that feel good, you’ve successfully installed WordPress! But remember this is just the beginning; the real magic happens when you start designing and adding content to your website. So, get ready to explore, experiment, and enjoy your new WordPress site!
Selecting and Installing Essential WordPress Plugins
In the journey of building your WordPress website, you’ve set up your hosting, configured your domain, and even played around with customization. But now, you’re ready to dive into the exciting world of WordPress plugins. These handy tools can provide additional functionality to your website, making it more user-friendly, secure, and efficient. This step can be overwhelming, considering there are over 50,000 plugins available. No worries, though! We’re here to guide you through narrowing down your choices and installing your essential plugins.
Selecting Essential WordPress Plugins
Choosing the right plugins can significantly enhance the functionality of your website. Here are some basic categories you should consider:
- Security plugins: WordPress websites can be vulnerable to hackers. Security plugins like Sucuri or Wordfence provide layers of protection to your site.
- SEO plugins: If you want to rank higher on search engines, SEO plugins like Yoast SEO or All in One SEO Pack are a must.
- Backup plugins: UpdraftPlus or BackupBuddy can help you ensure that your website data is safe and recoverable in case of any mishaps.
- Contact form plugins: Plugins such as Contact Form 7 make it easy to set up contact forms on your site, allowing visitors to get in touch with you.
Remember, the key is not to overwhelm your website with too many plugins. Select only those that you truly need.
Installing WordPress Plugins
Once you have chosen your plugins, it’s time to install them. Here’s a step-by-step guide to help you through the process:
- Navigate to your WordPress dashboard and click on ‘Plugins’.
- Click ‘Add New’.
- Search for your chosen plugin in the provided search bar.
- Click ‘Install Now’ next to your chosen plugin.
- Once installed, click ‘Activate’ to start using the plugin.
There you have it! You’ve successfully installed your first WordPress plugin. It’s as simple as that. You can manage your installed plugins under the ‘Plugins’ section of your dashboard.
Selecting and installing the right plugins can dramatically enhance your WordPress site’s performance and functionality. But remember, it’s not about quantity; focus on installing quality plugins that truly add value to your site. Happy building!
Customizing Your WordPress Site: Themes and Settings
Welcome to the exciting world of WordPress customization! Now that you’ve installed WordPress and selected the essential plugins, it’s time to make your website truly yours with unique themes and personalized settings. In this section, we’ll guide you through the process of choosing a fitting theme and customizing it to match your brand’s personality. So, sit back, relax, and let’s dive right in!
Choosing Your WordPress Theme
Think of a theme as the dress code for your website. It defines the overall look and layout of your site, so choosing the right one is crucial. Luckily, WordPress offers thousands of free and premium themes, each boasting different design elements and functionalities.
There are themes for all kinds of websites: from minimalistic blog layouts to complex e-commerce designs. To choose one, navigate to your WordPress dashboard and click on Appearance > Themes > Add New. You can then browse or search for your preferred theme. Remember to preview it first before installing to ensure it aligns with your vision.
Installing Your Chosen Theme
Installing a WordPress theme is as effortless as clicking a button. Literally! Once you’ve found a theme you love, simply click on Install, then Activate. Voila! Your website now wears a new look.
Customizing Your Theme
Most WordPress themes come with a built-in customizer that lets you change aspects like the color scheme, typography, layout, and more. To access it, go to Appearance > Customize.
Your options will vary depending on the theme, but generally, this is where you can:
- Change your site title and tagline: This is usually the first thing visitors see when they land on your site, so make it count.
- Adjust color schemes: Ensure the colors match your brand identity. You wouldn’t want a neon palette for a law firm website, would you?
- Set your website’s typography: A good rule of thumb is to stick to a maximum of three different fonts— one for headings, one for subheadings, and another for body text.
- Customize your header and footer: Depending on your theme, you can add contact details, social media links, or even a brief about us section in these areas.
Finishing Up
Once you’re happy with your changes, don’t forget to click Save & Publish. Now, you can sit back and admire your work. A word of advice though, it’s always wise to ask for feedback. You might be in love with your creation, but it’s essential that your visitors find it appealing and easy to navigate too.
The beauty of WordPress is in its flexibility and endless customization options. So, don’t be afraid to explore and experiment. After all, your website is a reflection of you or your business. Make it shine!







No Comment! Be the first one.